How to Can Turnips and Rutabagas Safely: Pressure Guide
Turnips and rutabagas are the quiet work horses of the winter pantry: cheap, hardy, sweet after a frost, and wonderful mashed, roasted, or stirred into soup. They also can beautifully — with one firm condition. Turnips and rutabagas must be pressure canned, from a tested recipe, as plain peeled cubes. They are low-acid root vegetables, so water bath canning is never safe for them, and they must never be canned mashed, creamed, or mixed with butter, milk, or other vegetables unless a tested recipe specifically says so. Follow those rules and you will have jars of plain roots ready for winter meals. Break them and the jars are not worth the risk.
If you are new to low-acid canning, read our pressure canning guide for beginners before your first batch, and keep our processing times and altitude chart beside you. The guide below explains the method in full, but one thing must be said up front: this article deliberately does not print a processing time or pressure for turnips and rutabagas. Those numbers come from your tested recipe — the USDA Complete Guide or the NCHFP — matched to your jar size, pack method, and altitude. Printing a number here, stripped of its conditions, would invite exactly the kind of guessing that safe canning forbids. Use the tested recipe as your authority, and use this article as your companion to it.
Turnips vs Rutabagas: Know What You Are Canning
Turnips and rutabagas are cousins, but they are not the same vegetable, and telling them apart helps at every step. Turnips are usually smaller, with white flesh, a sharp, peppery bite when raw, and purple-and-white skin. Rutabagas — sometimes called Swedes or yellow turnips — are larger, with yellow-orange flesh, a sweeter, earthier flavor, and a waxy coating on the skin that must be scrubbed or peeled away. Rutabagas are also denser and take longer to cook, which is one reason the tested recipe treats preparation carefully. Both are canned the same way: peeled, cubed, plain, pressure canned. But buy them with their differences in mind, because a jar labeled "turnips" that actually holds rutabagas is a labeling mistake waiting to confuse a future meal.
Choose roots that are firm and heavy for their size, with no soft spots, cracks, or signs of rot. Small to medium roots are easier to peel and cube evenly than giant, woody ones. Rutabagas are often sold waxed; the wax is harmless, but it must come off with the peel. Turnip greens, if attached and fresh, are a bonus for the dinner table — cook them fresh the same day — but they are not canned in the same jar as the roots. Each jar holds one plain food, prepared one defined way. That simplicity is what makes the process testable and safe.
Why Only a Pressure Canner — and Only Cubes
Turnips and rutabagas are low-acid foods, which means they can harbor Clostridium botulinum spores unless processed at the temperatures only a pressure canner reaches. Boiling water tops out at 212°F, which cannot destroy those spores no matter how long you boil. This is the same rule that governs every other low-acid vegetable we have covered, from green beans to carrots and beets. If you do not own a pressure canner, turnips and rutabagas are a freezing or fresh-storage project, not a canning project. Our guide to water bath vs pressure canning explains which foods belong to which method.
Cubes matter for the same reason that pumpkin must be canned in cubes and never as puree: heat penetration. Cubes in liquid heat evenly and predictably; a mashed mass heats slowly and unevenly, and its center may never reach a safe temperature. That is why mashed turnips, creamed rutabaga, and root-vegetable medleys have no home canning procedure. Can the roots plain, and mash them after you open the jar, when they are about to be eaten. The extra five minutes at serving time buys you a process that is actually safe.
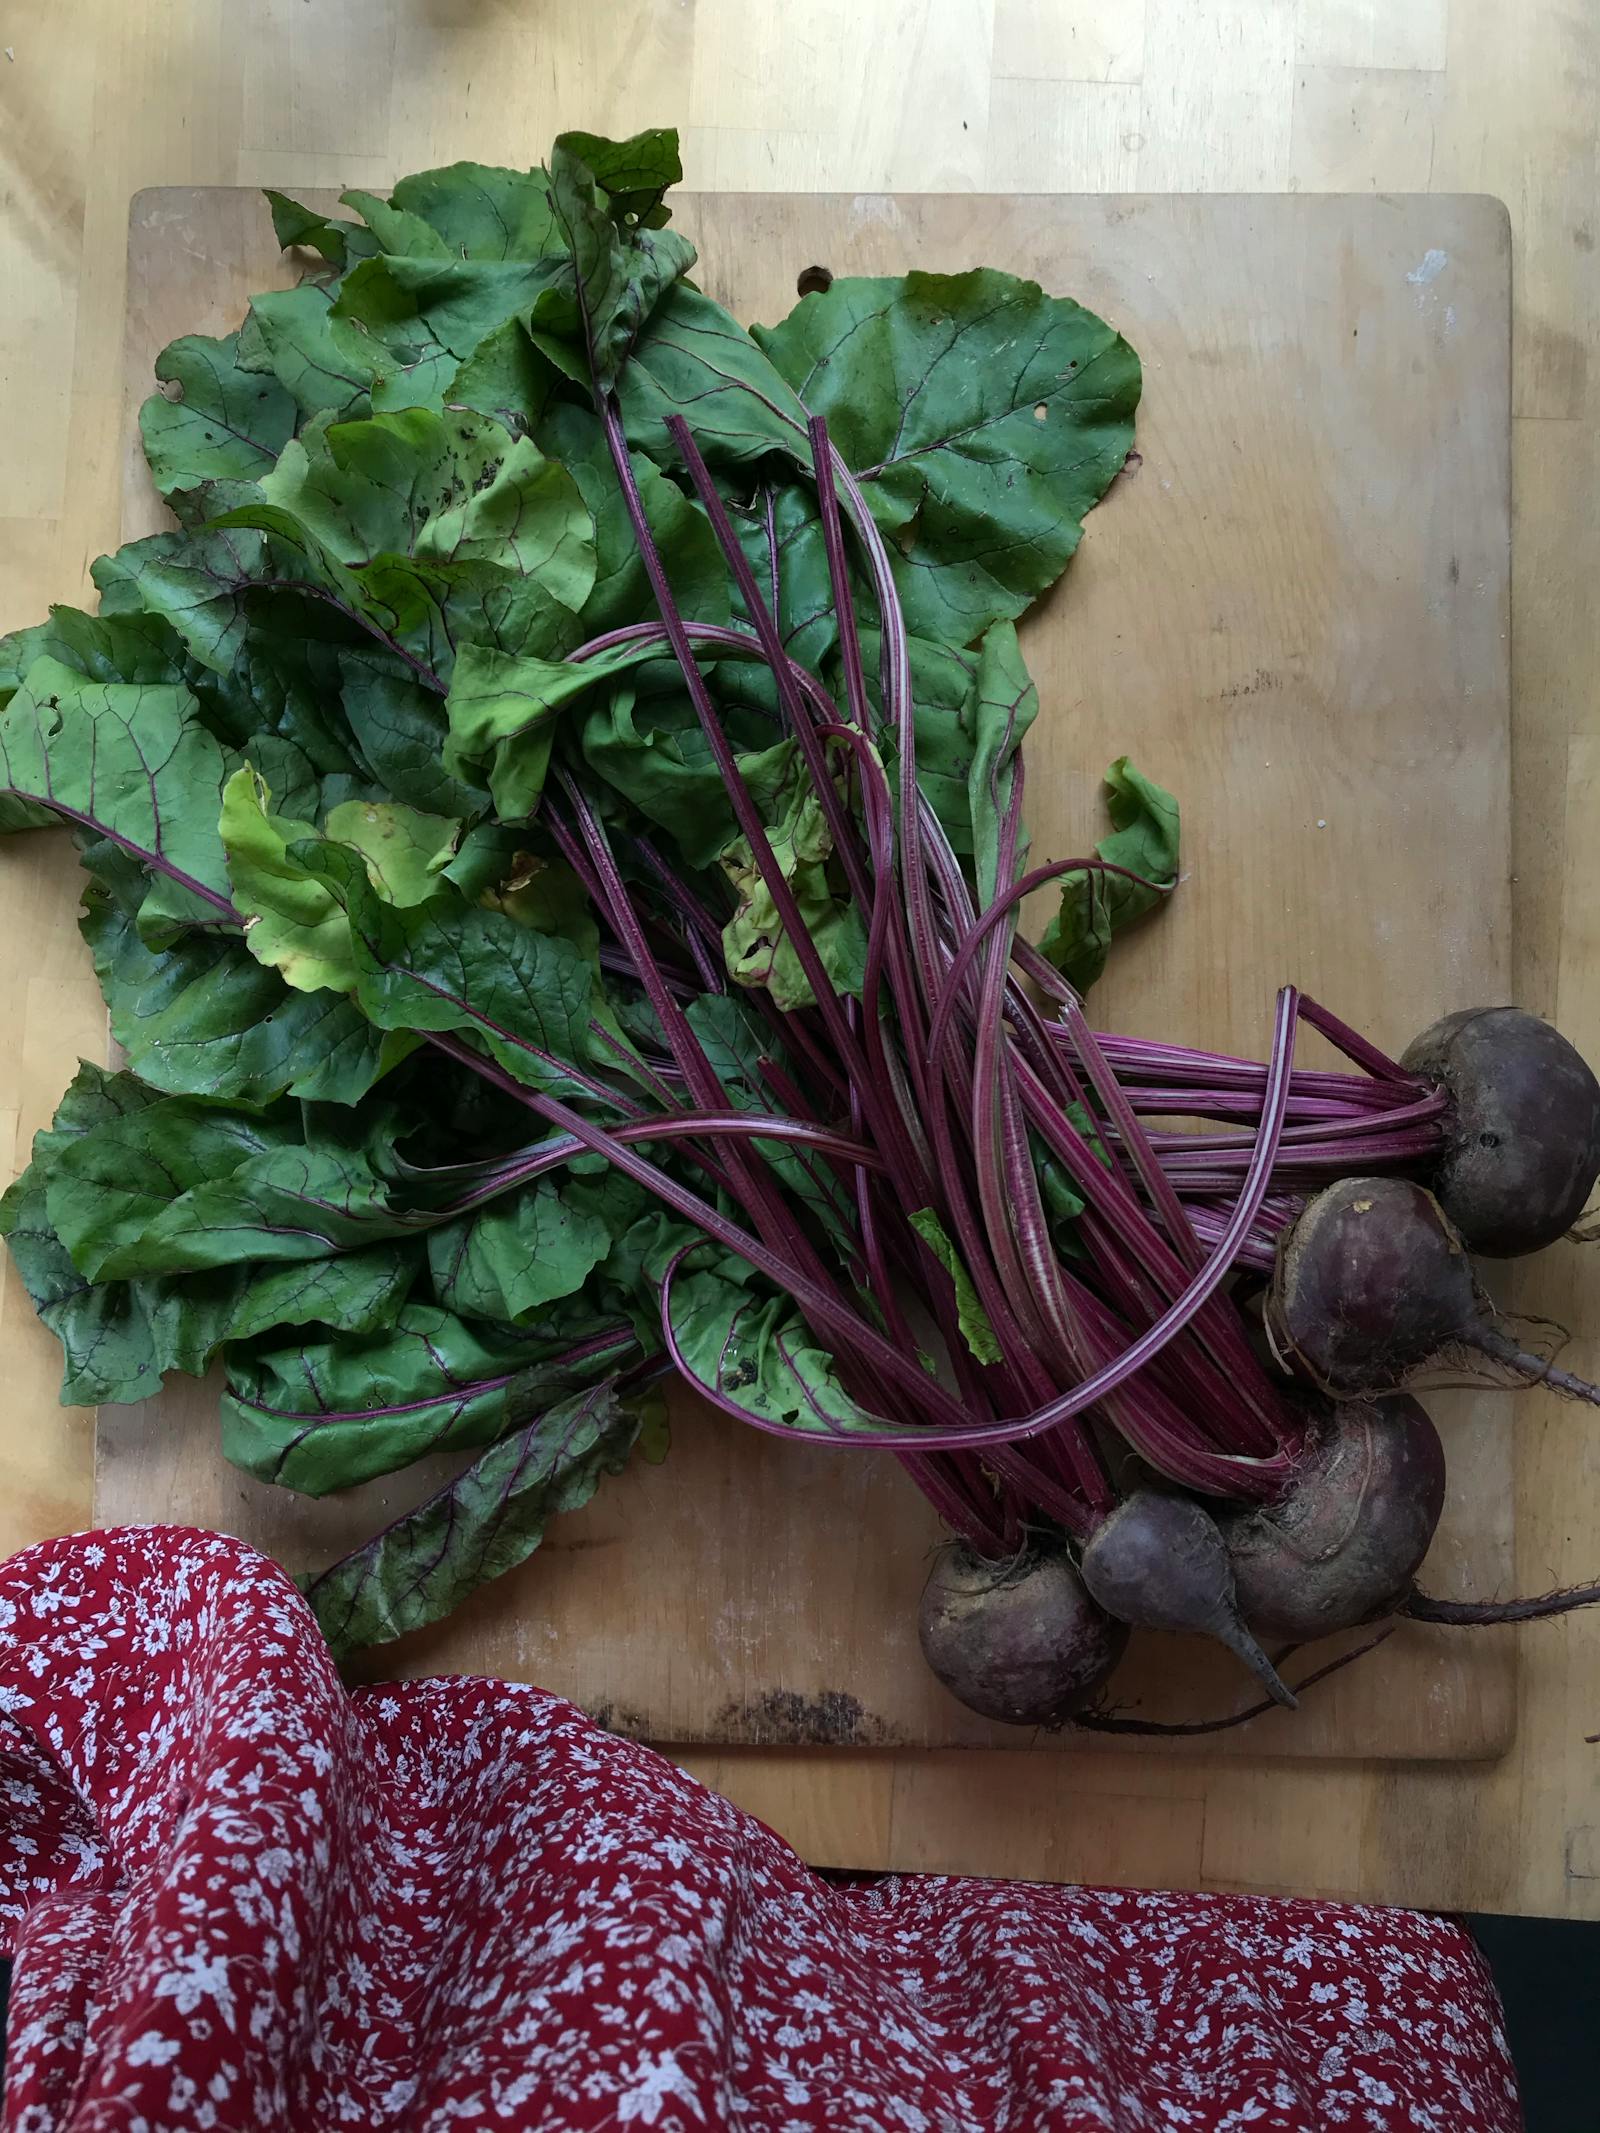
Step by Step: Canning Turnips and Rutabagas Safely
Step 1: Prepare the roots
Wash the roots well under running water, scrubbing off soil and, for rutabagas, the wax coating. Peel them completely — no skin, no wax, no dark spots left behind. Cut away any woody or damaged parts. Then cut the flesh into cubes as your tested recipe directs, keeping the pieces as even as you can so they heat evenly. Discard any root that is soft, moldy, or off-smelling; canning cannot rescue poor-quality produce, and one bad root can spoil a jar.
Step 2: Choose your pack method from the recipe
Tested recipes offer a pack method — how the cubes and liquid go into the jar — and you must follow the one your recipe specifies for your jar size. In general, root vegetables are packed with boiling water or cooking liquid poured over them, leaving the headspace the recipe states. Headspace is not decoration: too little and food may boil out and break the seal; too much and air remains in the jar and the seal may fail. Measure it with a headspace tool or a ruler, and remove air bubbles with a non-metal utensil before you adjust the liquid level. Wipe every jar rim clean, place a new flat lid on each jar, and screw the band on fingertip-tight — firm, but not forced.
Step 3: Process in the pressure canner
Place the jars in the canner on the rack, following your canner's manual for the water level. Close and lock the lid, and vent steam for the full time your canner manual requires before you start timing — venting removes trapped air that would otherwise lower the temperature inside. Then bring the canner to the pressure your tested recipe specifies for your altitude, and hold it there for the recipe's full processing time, adjusting the heat as needed to keep the pressure steady. Do not shorten the time, do not lower the pressure, and do not open the canner early. If the pressure drops below the recipe's level during processing, you must bring it back up and restart the timing from the beginning — a partial process is not a safe process. Altitude matters here: if you live above sea level, your recipe's altitude adjustment applies, as explained in our altitude chart article.
Step 4: Cool, check, and store
When the time is up, turn off the heat and let the canner cool naturally until the pressure returns to zero on its own. Do not force-cool it with water or by opening the vent early — rapid cooling can cause jars to lose liquid or fail to seal. Remove the jars with a jar lifter, set them upright on a towel or rack with space between them, and leave them undisturbed for twelve to twenty-four hours. Then check every seal: the lid should be concave and should not flex when pressed. Remove the bands, wipe the jars, label them with the contents and the date, and store them in a cool, dark, dry place. Any jar that did not seal goes into the refrigerator and gets eaten within a few days — it is not shelf-stable, and it must not be reprocessed days later. If seals fail repeatedly, see our guide to why canning jars fail to seal before your next batch.
What Never Goes in the Jar
The "never" list for turnips and rutabagas is short and absolute. Never add butter, cream, milk, or cheese. Never add flour, cornstarch, or any thickener. Never can the roots mashed, pureed, or creamed. Never mix turnips and rutabagas with other vegetables — no mixed-root medleys, no turnips-and-carrots jars — unless a tested recipe specifically covers that combination. Never water bath them, never use an oven or microwave method, and never reuse a processing time from a different vegetable. Each of these shortcuts changes how heat moves through the jar, and none of them has been tested. For the full list of foods that cannot be home canned at all, see our article on foods with no safe home canning method.
The same discipline applies to your equipment. Use proper canning jars and new flat lids every time; check jars for chips and cracks before filling; and keep your pressure canner's gauge tested if it uses a dial gauge, following the manufacturer's advice. A canner that reads low is a canner that under-processes everything in it. If you are still gathering equipment, our canning kit guide and our jar guide cover what to buy and what to skip.
Using Your Canned Turnips and Rutabagas
Home-canned turnips and rutabagas are at their best for about a year, and they should always be used within the storage guidance in our article on how long home canned food lasts. Open a jar, drain the liquid, and use the cubes as you would freshly cooked roots: mash them with a little butter and salt for a classic side, roast them briefly for texture, or stir them into soup in the last few minutes of cooking. Because the jars contain plain roots with no seasoning, they adapt to any recipe. Taste and season after opening, not before canning — the jar is for preservation, and the flavoring happens at the table.
Before you use any jar, give it the standard safety check. The seal should still be tight, the liquid clear, the cubes intact, and the smell fresh and normal when opened. If a lid is bulging, if liquid spurts when you open the jar, if the food smells off, or if you see mold, do not taste it — discard the jar safely. Our guide to signs that home canned food has gone bad covers the details, and the rule behind it is simple: when in doubt, throw it out. A jar of turnips is never worth a risk.
Turnips and rutabagas also reward the canner who plans ahead. They are among the last vegetables in the garden and the cheapest roots at the market in late autumn, which makes them a perfect late-season project after the tomatoes, beans, and pickles are done. A dozen jars put up in November become quick weeknight sides all winter, and they pair beautifully with the other plain vegetables on your shelf — carrots, sweet potatoes, and green beans — for mixed meals assembled at serving time, where mixing is perfectly safe because it happens after the jars are opened.
Frequently Asked Questions
Can I water bath turnips and rutabagas if I boil them longer?
No. Turnips and rutabagas are low-acid foods, and boiling water cannot reach the temperature needed to destroy botulinum spores, no matter how long you boil. Only a pressure canner, used with a tested recipe, is safe for them.
Can I can mashed turnips or rutabagas?
No. Mashed or pureed roots heat unevenly, and there is no tested home procedure for them. Can plain cubes, then mash after opening for immediate use.
Can I mix turnips and rutabagas in the same jar?
Only if a tested recipe specifically covers that combination. Otherwise, can each vegetable on its own. You can always combine them in the pot at serving time.
Do I need to peel rutabagas before canning?
Yes. Peel turnips and rutabagas completely, removing all skin and, for rutabagas, the wax coating. Unpeeled roots are not part of any tested canning recipe.
Why does this article not print a processing time?
Because the correct time and pressure depend on your jar size, pack method, canner type, and altitude, and only your tested recipe — the USDA guide or the NCHFP — states them for your exact conditions. A number printed without its conditions would invite dangerous guessing. Always process from the tested recipe itself.
Comments
Post a Comment
Play nice — spam and promo links are deleted.