How to Can Sweet Potatoes Safely: Pressure Canning Guide
Sweet potatoes are a pantry staple worth canning, but they are also one of the foods where the method is non-negotiable: sweet potatoes must be pressure canned, never water-bathed, and only as cubes, never as puree or mash. That rule exists because sweet potatoes are a low-acid vegetable, and only the high heat of a pressure canner reaches the temperature needed to make them safe for shelf storage. Follow a tested recipe, and canned sweet potatoes are convenient, versatile, and delicious. Improvise the method, and the jar is not safe no matter how good it looks.
The short answer
To can sweet potatoes safely, peel them, cut them into uniform 1-inch cubes, blanch the cubes briefly in boiling water, pack them hot into jars with boiling water leaving the headspace your tested recipe states, and pressure can them for the time and pressure given in that recipe for your jar size and altitude. Never can sweet potato puree, mash, or butter; never water-bath sweet potatoes; and never add butter, cream, sugar syrups beyond what the recipe allows, or thickeners to the jar. If you are new to pressure canning, read our pressure canning for beginners first, and check water bath vs pressure canning to understand why low-acid foods need pressure.
Why sweet potatoes need pressure canning
Sweet potatoes have a pH well above 4.6, which puts them firmly in the low-acid category. In a water bath canner, the contents of the jar only reach the temperature of boiling water, 212 degrees Fahrenheit at sea level. That kills most bacteria, yeasts, and molds, but it does not kill the spores of Clostridium botulinum, which can grow in a sealed, low-acid jar and produce a deadly toxin. A pressure canner reaches 240 degrees or higher, which does destroy those spores. That temperature difference is the entire reason the method matters, and no amount of extra water bath time substitutes for it. Our botulism safety facts explain this in more detail, and they are worth reading before your first low-acid batch.
Why cubes only, never puree
Heat moves through cubed sweet potatoes in boiling water relatively quickly, because the liquid circulates around the pieces. In a puree or mash, there is no circulation: heat must creep inward from the jar walls through a dense, starchy mass, and the center may never reach a safe temperature within any reasonable processing time. That is why no tested recipe exists for canning sweet potato puree, and why canning pumpkin puree is banned for the same reason, as covered in our pumpkin cubes-only guide. If you want mashed sweet potatoes later, can the cubes now and mash them after opening. The extra step at serving time is the price of safety, and it is a small one.
Choosing and preparing sweet potatoes
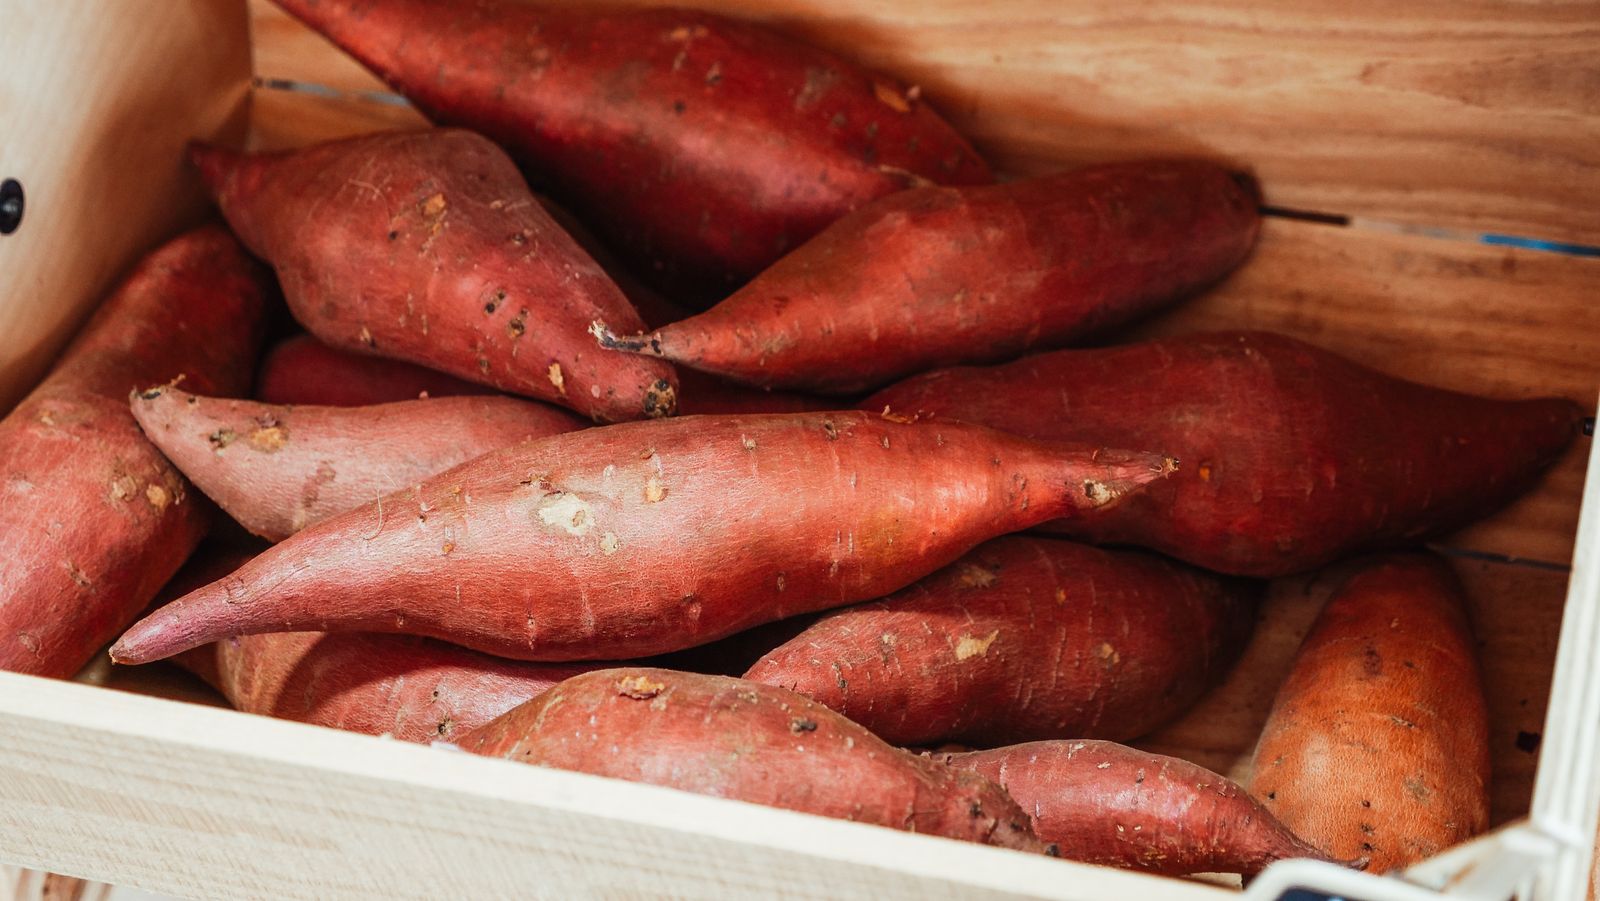
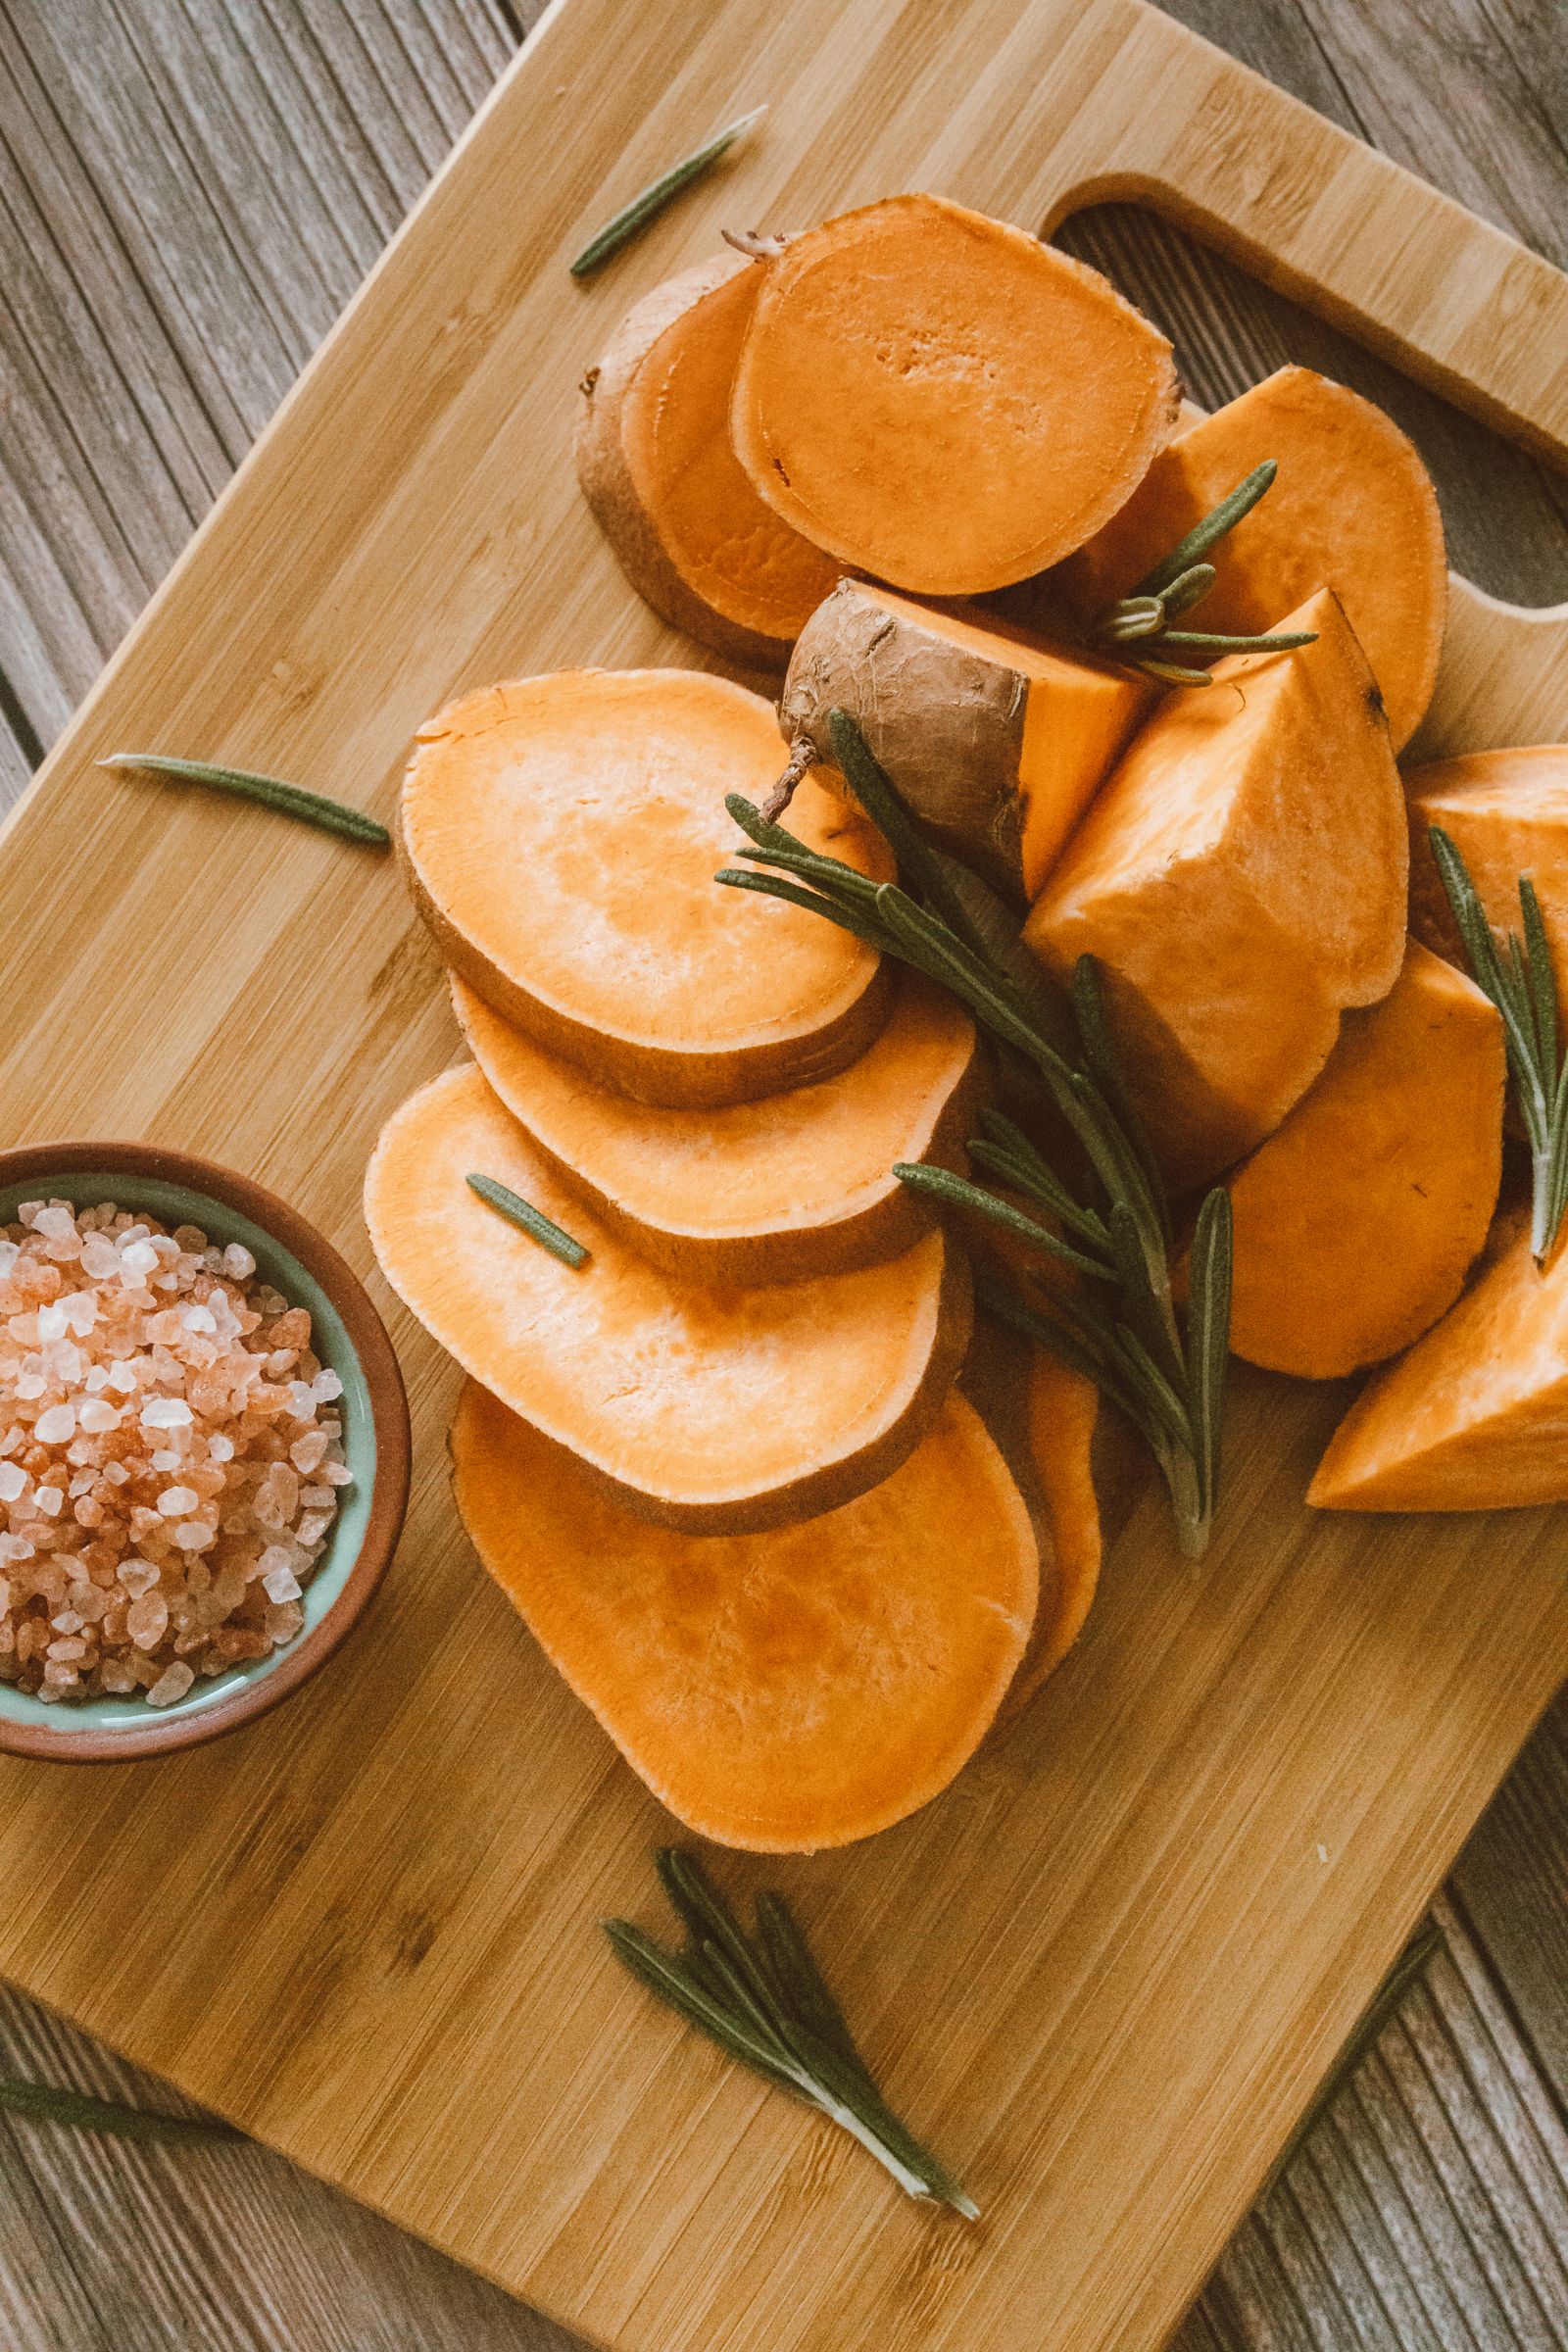
Choose firm, well-shaped sweet potatoes without soft spots, cracks, or signs of decay, and use them within a few weeks of harvest or purchase for the best quality. Very large, woody roots can be stringy after canning, so medium roots are ideal. Wash them thoroughly, peel them completely, and cut them into cubes of about one inch. Uniform size matters: a jar mixed with tiny pieces and huge chunks heats unevenly, and the large chunks may be under-processed while the small ones turn to mush. Discard any piece with rot, and do not can sweet potatoes that have been stored so long they are sprouting heavily or soft throughout.
Blanch the cubes in boiling water for a few minutes, as your tested recipe directs, then pack them hot. Blanching drives air out of the tissue, which improves the seal and the jar's shelf life, and it starts the cooking so the finished cubes are tender but not disintegrated. Do not skip blanching to save time; it is part of the tested procedure, not an optional garnish.
Step by step: pressure canning sweet potato cubes
1. Prepare the canner and jars
Put your pressure canner on the stove with the amount of water its manual specifies, usually two to three inches, and heat it to a simmer. Wash the jars and keep them hot, either in the canner or in a pot of simmering water, so hot food does not meet a cold jar. Use new lids and check the canner's gauge and vent before every session. A dial gauge should be tested for accuracy once a year, and a weighted gauge should move freely. If you are choosing a canner, our pressure canner picks for beginners compare the common options.
2. Pack the jars hot
Pack the blanched cubes loosely into hot jars, leaving the headspace your tested recipe states, and cover with boiling water, not cold water and not syrup, unless your recipe specifically calls for it. Do not pack the cubes tightly: they need room for the liquid to circulate, and overpacking is one of the easiest ways to under-process a jar. Remove air bubbles with a bubble remover or a chopstick, adjust the headspace, and wipe the rims clean.
3. Vent, then process
Put the lids and bands on fingertip-tight, load the jars into the canner, and vent the canner for a full ten minutes before pressurizing, as your canner's manual directs. Venting drives out trapped air so the pressure reading reflects steam temperature accurately. Skipping or shortening the vent is a real safety error, not a shortcut. Then bring the canner to the pressure your tested recipe specifies for your altitude and jar size, and hold it there for the full processing time. Use your tested recipe's time and pressure for your altitude, and check our altitude chart if you are above sea level. If the pressure drops below the target during processing, you must bring it back up and restart the timing from the beginning.
4. Cool, check, and store
When the time is up, turn off the heat and let the canner depressurize on its own. Never force-cool a pressure canner or open it early. Remove the jars with a jar lifter, set them upright on a towel, and leave them undisturbed for 12 to 24 hours. Check the seals, remove the bands, wipe the jars, and label them with the contents and date. Store in a cool, dark place. If a jar does not seal, refrigerate it and use it within a few days, or reprocess it within 24 hours using a new lid and the full processing time. Our guide to seal failures lists the nine usual causes.
What NOT to add to the jar
Butter, cream, or oil. Fats interfere with heat penetration and can go rancid. Add butter when you serve the sweet potatoes, not when you can them.
Sugar syrups beyond the recipe. Some tested recipes use a light syrup or plain water. Do not invent a heavy syrup, because it changes density and heating.
Marshmallows, spices in bulk, or toppings. A pinch of spice in the cooking water is one thing; a jar layered with marshmallows or brown sugar topping is another, and it has no tested process. Keep the jar simple: sweet potatoes and water.
Thickeners. Never add flour, cornstarch, or commercial thickeners. They slow heat penetration exactly when you need it fastest.
Using canned sweet potatoes
Canned sweet potato cubes are ready to use straight from the jar, and they shine in dishes where fresh sweet potatoes would take an hour to cook. Drain and mash them with butter and a pinch of salt for a quick side dish, toss them into soups and stews for body, roast them briefly with olive oil for crispy edges, or fold them into a casserole topping. Because they are already fully cooked, add them late in a recipe so they do not disintegrate. Before using any jar, check the seal, look for off smells, spurting liquid, or mold, and discard anything suspicious. Our signs of spoiled canned food guide tells you exactly what to look for, and our shelf life guide covers how long to keep them.
Troubleshooting sweet potato canning
Mushy cubes. Usually over-blanching, overpacking, or using old, soft roots. Shorten the blanch slightly within the recipe's range, pack loosely, and start with firm roots.
Cloudy liquid. Starch in the jar liquid is normal for sweet potatoes and is not a sign of spoilage. If the liquid is cloudy and the seal is good with no off smell, the jar is fine. Discard any jar with a broken seal, spurting, or foul odor regardless of clarity.
Liquid loss (siphoning). Often caused by cooling the canner too fast, packing too full, or fluctuating pressure. A small amount of liquid loss with a good seal is a quality issue, not a safety failure, but jars that lost a lot of liquid may discolor on top. Keep those jars in the pantry and use them first.
Jars that did not seal. Check for chips on the rim, food on the rim, old lids, or bands tightened too much. See our seal failure guide and remember that lids are single-use, as explained in our lid reuse guide.
Frequently asked questions
Can I can sweet potatoes with the skin on?
No. Tested recipes call for peeled sweet potatoes. Skin changes heat penetration and can carry soil bacteria into the jar. Peel every piece.
Can I raw-pack sweet potatoes instead of hot-packing?
Only if your tested recipe offers a raw-pack option. Many sweet potato recipes are hot-pack only, because raw-packed cubes float and pack unevenly. Follow your recipe's pack method exactly.
Can I can sweet potatoes in quart jars?
Only if your tested recipe lists quarts. Many sweet potato recipes are pint-only, because larger jars heat more slowly. Do not scale up jar size on your own.
Can I add sweet potatoes to a soup I am canning?
Only by following a tested soup recipe that includes sweet potatoes in the stated amounts. Do not add sweet potatoes to a tested soup recipe that does not include them, because the density and processing time change. Our broth and stock guide covers the related rules for liquid-based canning.
How do canned sweet potatoes compare to frozen?
Canned cubes are shelf-stable and ready to use, which is ideal if freezer space is tight. Frozen sweet potatoes keep a firmer texture and brighter color, but need freezer space and thawing. Both are safe when done correctly; canning wins on storage, freezing wins on texture.
Sweet potatoes reward the canner who respects the rules: pressure only, cubes only, tested recipe only. Do that, and a few autumn afternoons of canning give you a pantry shelf of ready-to-use sweet potatoes for soups, sides, and casseroles all year. Skip a rule, and the jar is not worth the risk, no matter how good it looks on the shelf.
Comments
Post a Comment
Play nice — spam and promo links are deleted.