How to Store Canning Equipment: Off-Season Care
When the last jar of the season is on the shelf, the canning gear itself deserves a little attention before it goes away for the winter. A pressure canner stored dirty, a gasket left compressed in a lid, a gauge that has drifted off true, or a box of jars stacked where they can chip will all cost you time, money, or safety next season. Off-season care is not glamorous work, but it is short, simple, and it pays for itself the first time you start next year's canning without a surprise. This guide walks through cleaning, drying, inspecting, and storing every piece of canning equipment, so next season starts with gear you can trust.
The short answer
Clean everything after your last batch, dry it completely, inspect it before you store it, and store it in a cool, dry place where it will not be crushed, damp, or forgotten. Wash and dry the canner and its parts, store the gasket separately and uncompressed, keep jars upright and unstacked with lids off, check rings for rust and jars for nicks, and get a dial gauge tested before next season. Do the inspection now, while problems are fresh in your mind, rather than discovering them on the day you planned to can. A little off-season care turns next season's first batch from a repair job into a routine.
Start with a full clean, while the season is fresh
Do not pack away a canner that still has food residue, mineral scale, or damp corners. Wash the canner pot with hot soapy water, rinse well, and dry it completely, inside and out, before it goes into storage. Mineral deposits from hard water can be removed following the canner manufacturer's instructions, usually with a vinegar solution, and the pot should be dried thoroughly to prevent rust and water spots. Wash the rack, jar lifter, funnel, lid wand, bubble remover, and other tools the same way, and dry them fully; tools with wooden handles should be dried promptly so the wood does not swell or crack. If you use a water bath canner, the same rules apply, and any rack that shows rust should be cleaned, dried, and checked before it is stored: a rusty rack can stain jars and weaken over time. Our guide to the best canning kit for beginners lists the tools worth owning, and every one of them lasts longer when it is cleaned and dried before storage rather than left with residue until spring.
The pressure canner: gasket, vent, and safety parts
The pressure canner is the most expensive and most safety-critical piece of equipment you own, and its small parts deserve the most care. Remove the gasket from the lid, wash it gently in warm soapy water, rinse, dry it completely, and store it separately from the lid, loosely coiled rather than folded or stretched, so it does not take a permanent set over the winter. A gasket left compressed in the lid all winter may seal poorly next season, and a gasket with cracks, brittleness, or flat spots should be replaced, not stored in hope. Clean the vent pipe carefully with a small brush or pipe cleaner, following the manufacturer's instructions, because a clogged vent is a genuine safety hazard: the vent must be clear for the canner to vent air properly and for pressure to be controlled. Inspect the overpressure plug and any safety valves, and replace anything that looks cracked, hardened, or damaged. If your canner has a dial gauge, that gauge needs testing before next season, ideally at a local extension office, because dial gauges can drift out of accuracy with use. Weighted gauges do not need the same testing, but their weights should be cleaned, dried, and stored where they will not be lost. Our guide to the best pressure canner for beginners explains the difference between dial and weighted gauges, and our guide to pressure canner replacement gaskets and parts covers matching replacement parts to your exact canner model. Store the canner with the lid inverted or resting on top rather than locked down, so the gasket is not compressed and air can circulate inside the pot, and keep the manual with the canner, not in a separate drawer you will not find in spring.
Jars: inspect, sort, and store upright
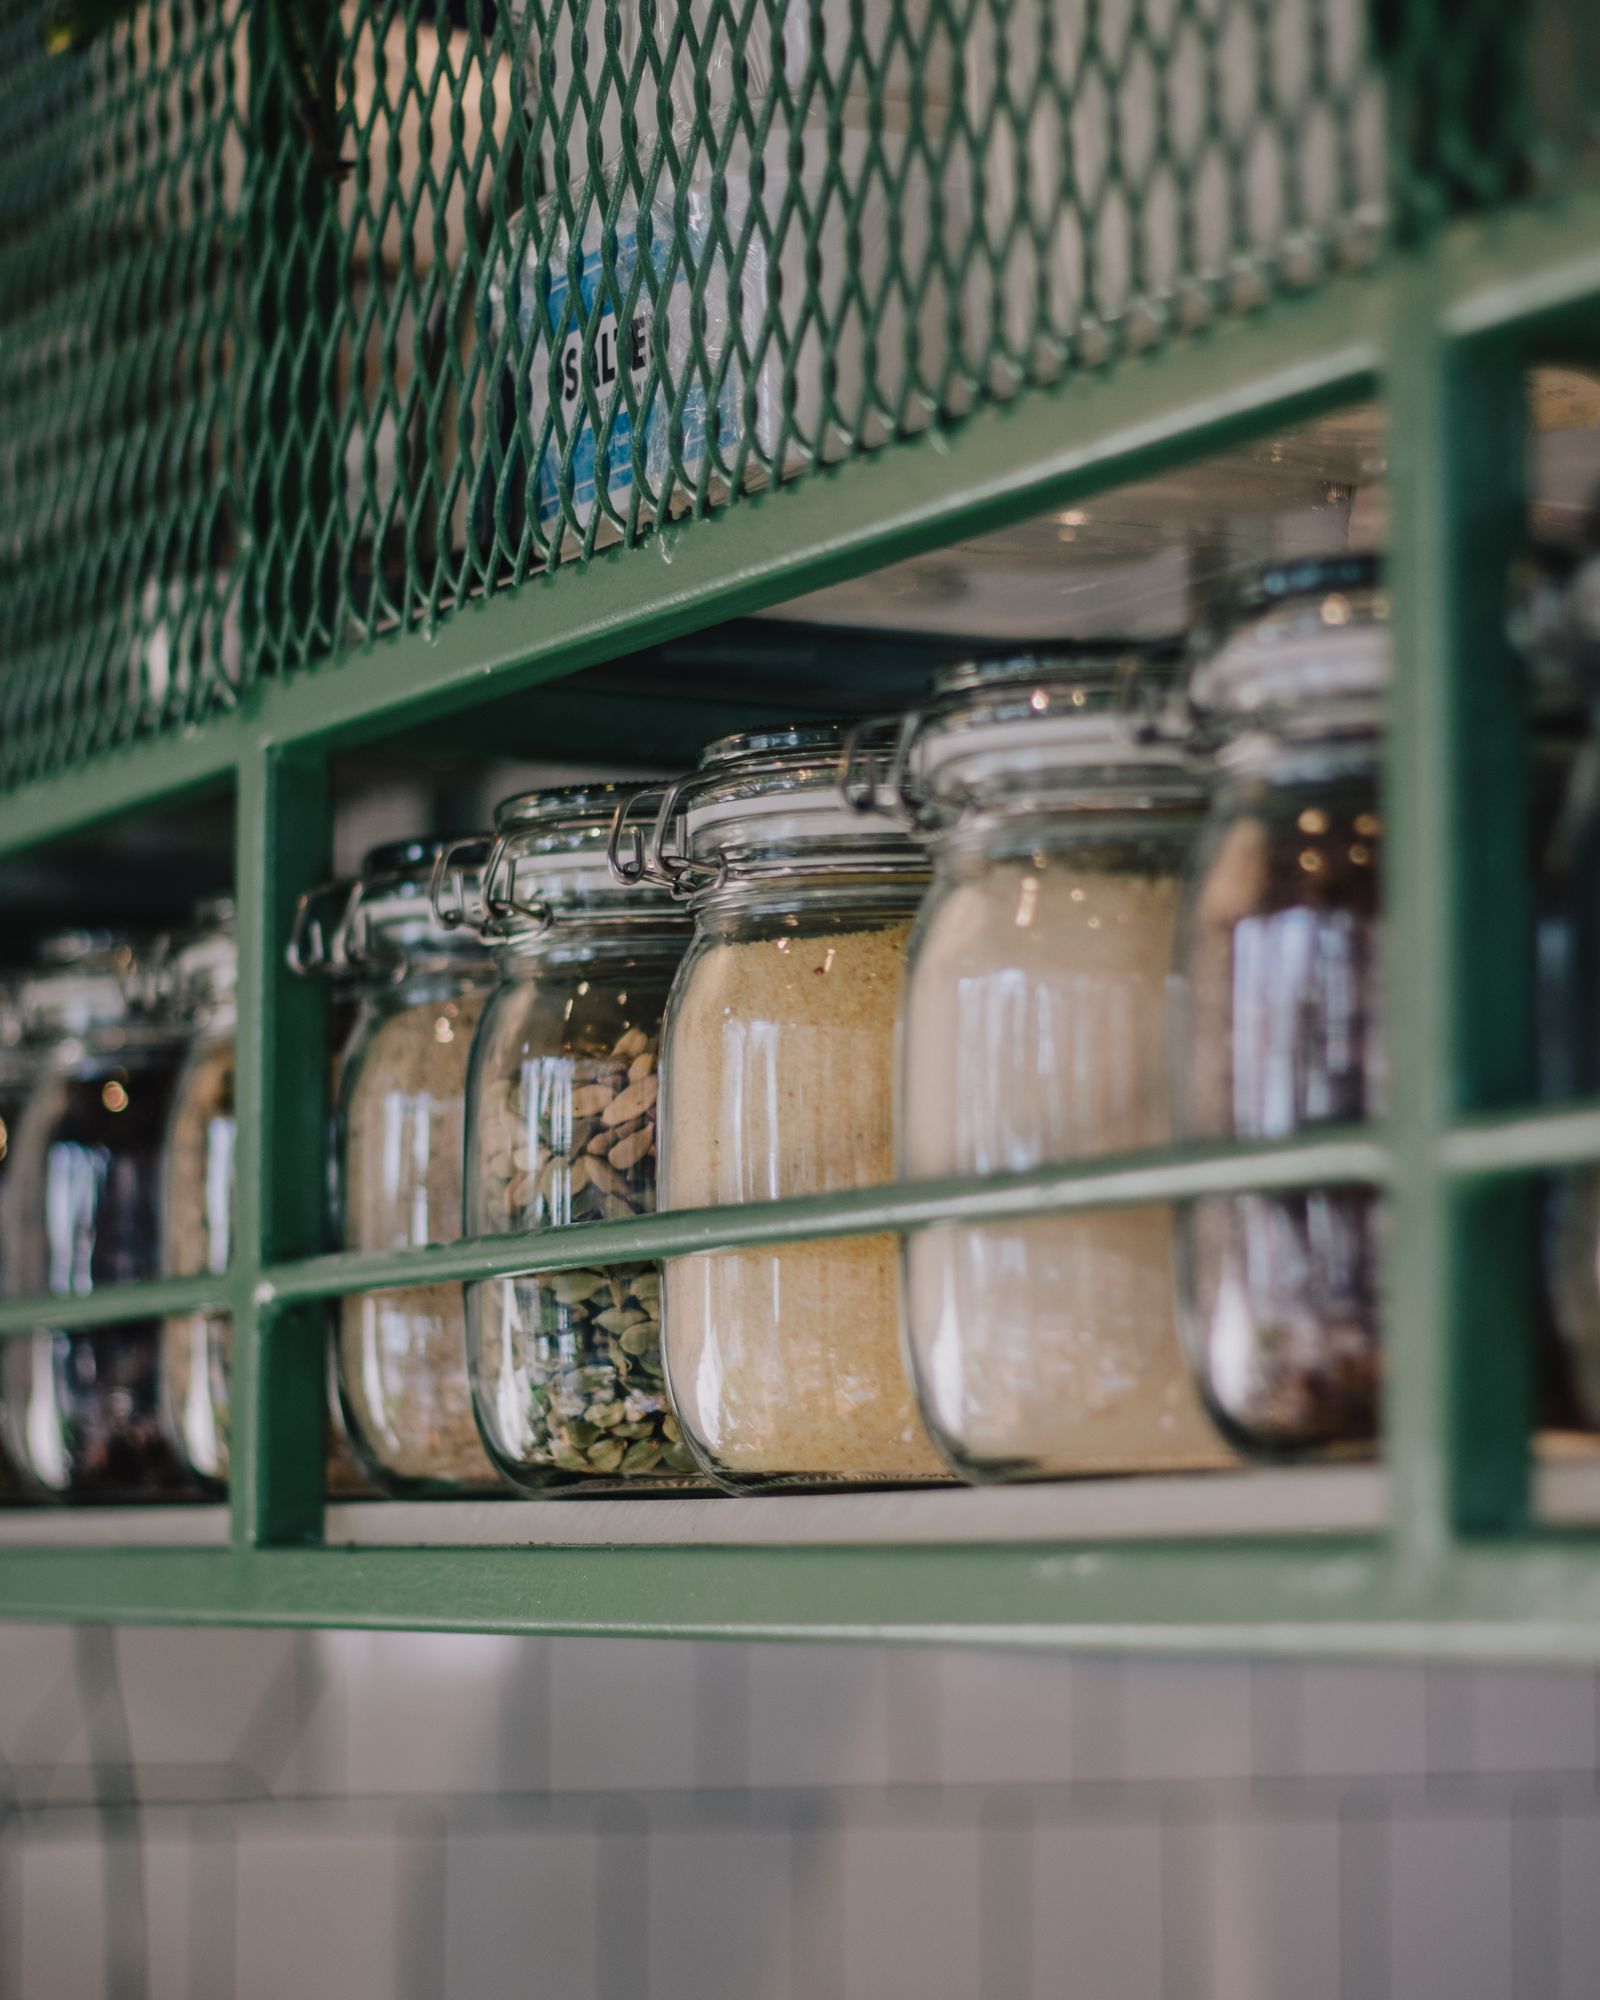
Empty jars are the part of the collection most often damaged in storage, and the damage is almost always avoidable. Wash jars in hot soapy water or in the dishwasher, dry them completely, and inspect every jar before it goes on the shelf: run a finger around the rim to feel for nicks and chips, and hold the jar up to the light to check for hairline cracks. A jar with a nicked rim will not seal reliably, and a jar with a crack can break in the canner, so both should be retired from canning and used for dry storage or recycled. Sort jars by size as you inspect them, because next season's recipes specify jar sizes, and a shelf sorted by size saves a frantic search on canning day. Store jars upright, with nothing stacked on top of them, and do not screw lids or bands onto empty jars for storage: trapped moisture can encourage mold and musty smells, and a band left on an empty jar can rust onto the threads. If you must stack jars to save space, place a sturdy divider between layers and accept that the bottom layer is at risk, which is why upright, single-layer storage is the better habit. Our guide to the best canning jars for beginners explains jar sizes and mouth types, and our guide to Ball vs Kerr jars covers the brands you are most likely sorting.
Lids, rings, and small tools
Lids and rings are small, cheap, and easy to neglect, and they cause a surprising share of failed seals. Flat lids are single-use: any unused flat lid can be stored for next season, but a lid that has already sealed a jar should never be reused for canning, as our guide to whether it is safe to reuse canning lids explains in full. Store unused lids in their original box or in a clean, dry container, away from heat and moisture, and check the sealing compound for dents or damage before you rely on them. Rings, or bands, can be reused as long as they are clean, dry, and free of rust and dents: wash them, dry them thoroughly, and discard any that are rusty, bent, or hard to thread. Rusty rings can be difficult to remove after processing and can stain jar threads, so replacing a handful of rings is cheaper than fighting them next season. Small tools deserve the same treatment: check the jar lifter's grip, make sure the funnel is not cracked, and replace a bubble remover that is bent or rough. Keep small tools together in a single box or bag, labelled as canning tools, so they are not borrowed for other kitchen jobs and returned damaged or lost. A canning kit that stays together is a canning kit that is ready when the harvest arrives.
Where to store everything
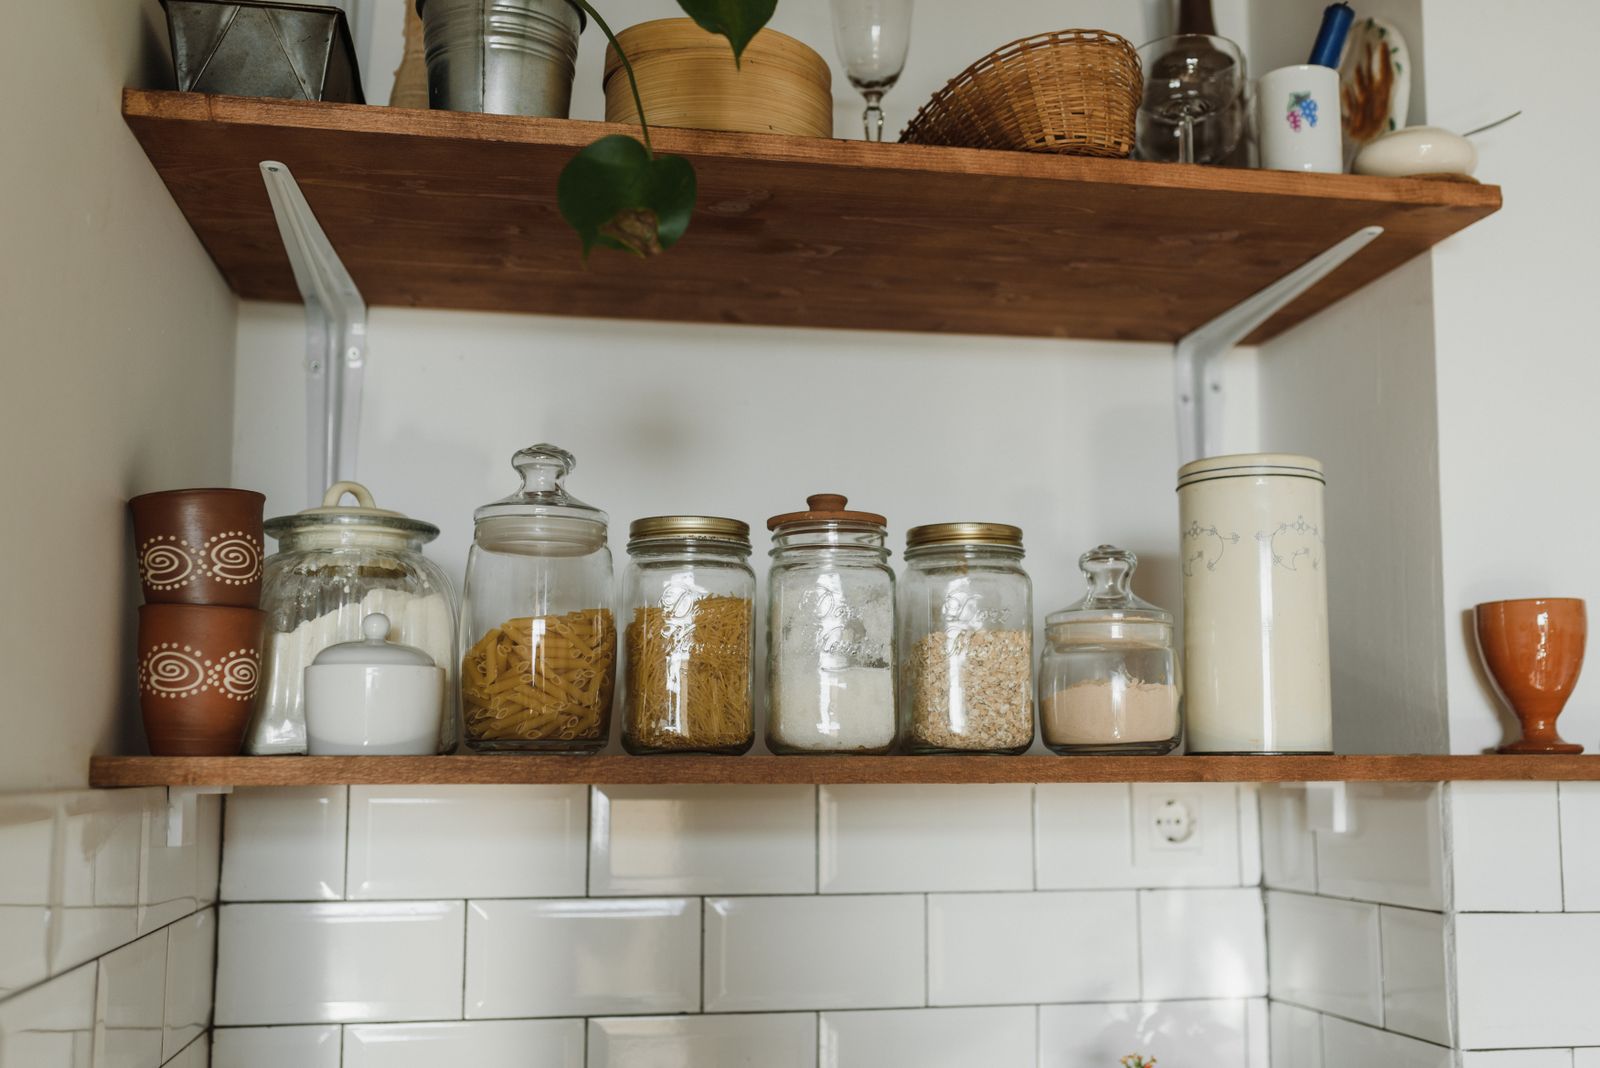
The best storage spot for canning equipment is cool, dry, clean, and out of the way of heavy items that could fall on it. A garage shelf works if it stays dry and does not freeze and thaw repeatedly around the canner, but a damp basement or an attic that bakes in summer is a poor choice for gaskets, gauges, and manuals. Keep the canner where it will not be used as a storage bin for other things: a pot full of unrelated items invites dents, forgotten moisture, and lost parts. Keep jars away from the edges of high shelves, where a bump can send glass to the floor, and keep full jars of canned food separate from empty jars, so you never mistake an empty jar for a full one in a dim pantry. Our guide to how long home canned food lasts covers storing the filled jars themselves, and the same cool, dark, dry principle applies to the equipment. If space is tight, a labelled plastic bin for small tools, lids, and rings, plus a shelf for jars and the canner, keeps the whole collection findable. Whatever system you choose, write it down or photograph it: next season's you will be grateful for a note that says where the extra gasket, the spare gauge, and the wide-mouth jars actually are.
Off-season checks that prevent next-season failures
A short checklist, done now, prevents most next-season failures. First, test the dial gauge if your canner has one, or note the date to have it tested before your first batch. Second, order any replacement parts you already know you need: a gasket that looked tired, a vent pipe brush, a jar lifter with a weak grip, or rings to replace rusty ones. Ordering in the off-season means parts arrive before the harvest, not during it. Third, count your jars by size and compare with what your usual recipes need, so you can buy jars in the off-season when they are in stock rather than during the autumn rush. Fourth, check your recipe books and notes: replace a stained or falling-apart book, and make sure your tested sources, the USDA Complete Guide, the NCHFP, or a current Ball book, are where you can find them. Fifth, review your own notes from this season: which recipes worked, which jars sealed poorly and why, and what you ran out of. Those notes are worth more than any new gadget, because they are specific to your kitchen, your altitude, and your harvest. Our guide to why jars didn't seal is a good reference for that review, and our guide to canning processing times and altitude chart is worth re-checking if you have moved or if your altitude was ever uncertain.
What not to do in the off-season
A few common habits cause more harm than good. Do not store a pressure canner with the lid locked down and the gasket compressed. Do not store jars with bands screwed on, or stacked without protection. Do not leave a canner damp, even slightly, or store it where water can pool inside it. Do not toss a dial gauge into a box of heavy tools, where it can be knocked out of calibration. Do not store canning equipment in a place where it will be exposed to chemicals, paint fumes, or strong odors, which can affect gaskets and sealing compound. And do not throw away the canner manual: model-specific instructions for venting, pressure, and part replacement are not interchangeable between brands, and the manual is the first thing you will need when a part fails. If the manual is already lost, download a replacement from the manufacturer in the off-season, while you have time to check that it matches your exact model.
Frequently asked questions
Should I store the pressure canner gasket in the lid?
No. Remove the gasket, wash and dry it, and store it separately, loosely coiled. Storing it compressed in the lid all winter can leave it with a permanent set that seals poorly next season.
How often should a dial gauge be tested?
Have a dial gauge tested before each canning season, or at least once a year, through a local extension office or according to the manufacturer's guidance. Weighted gauges do not need the same testing, but keep their weights clean and together.
Can I stack empty jars to save space?
It is better not to. Stacking risks chipped rims and cracked jars in the bottom layer. If you must stack, use a sturdy divider between layers, and inspect every jar in the bottom layer carefully before using it.
Should empty jars be stored with lids on?
No. Store empty jars upright with lids and bands off, so they dry fully and stay free of mold and musty smells. Keep unused flat lids in their box, and reuse only rings that are clean, dry, and rust-free.
What should I replace before next season?
Replace any gasket that is cracked, brittle, or flat-spotted, any rusty or bent ring, any jar with a nicked rim or crack, and any tool that is damaged. Order replacements in the off-season, before the harvest rush.
Off-season care takes an afternoon, and it repays itself all next season: a canner that seals first time, a gauge you trust, jars that are clean and unchipped, and tools that are exactly where you left them. Clean it, dry it, inspect it, store it well, and next year's harvest will meet equipment that is ready to work as hard as you are.
Comments
Post a Comment
Play nice — spam and promo links are deleted.